
BigBearVPN (Mac) Tutorial
Download App
Choose either download method:
If you use the Direct installer, the downloaded file will be bigbear_direct.pkg.
Install App
- Double-click the downloaded
bigbear_direct.pkgfile. - Follow the installer prompts to finish installation.
- On first connection, if macOS asks you to approve the system extension, follow the steps for your macOS version:
- macOS 15 or later: Open
System Settings>General>Login Items & Extensions>Network Extensions, allowBigBearVPN Direct, then return to the app and clickInstall Extensionagain. - macOS 14 or earlier: Open
System Settings>Privacy & Security, clickAllow Anywaynear the bottom of the page, then return to the app and clickInstall Extensionagain.
- macOS 15 or later: Open
Open App
After installation, open BigBearVPN Direct from Launchpad or the Applications folder.
Connect VPN
The Mac version is only available to paid BigBear members. Please sign in with an account that has an active membership.
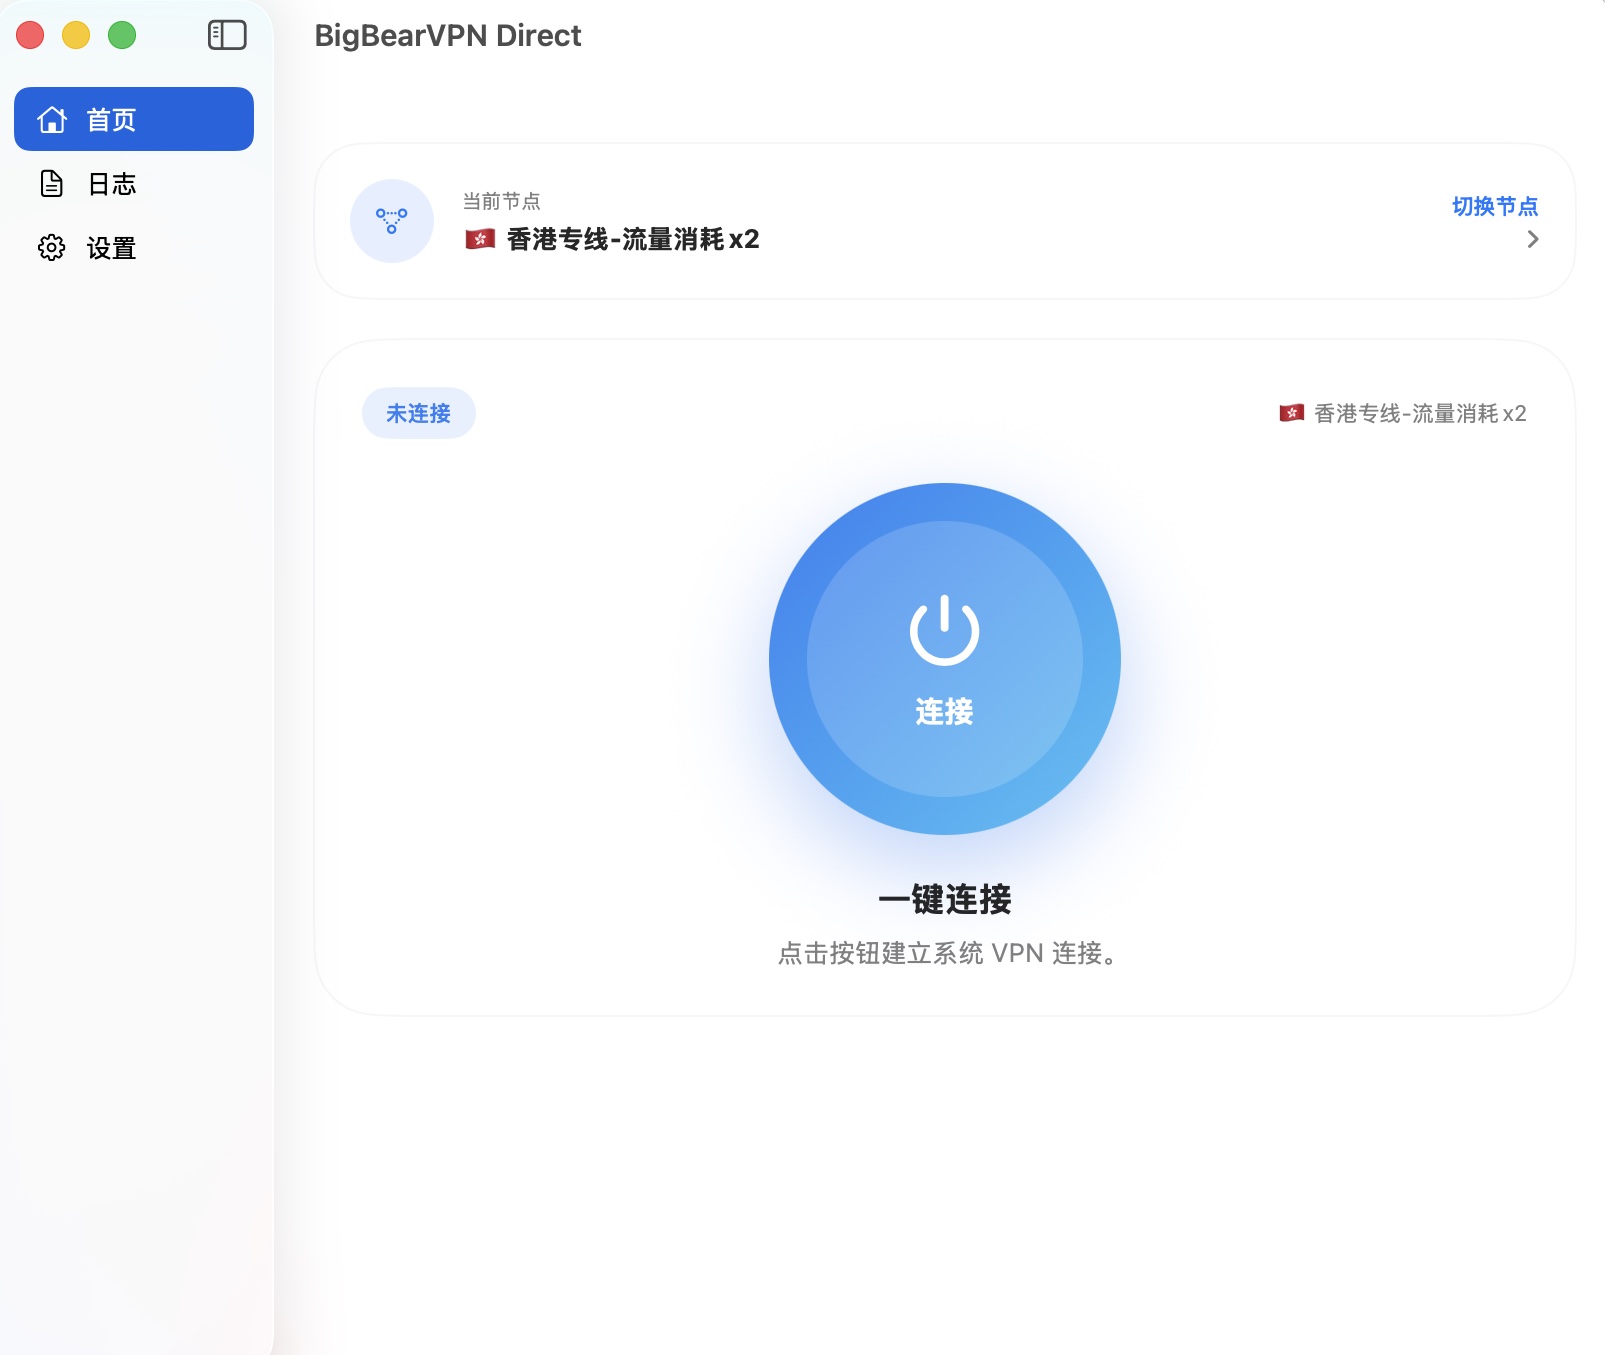
- Open BigBearVPN Direct, click
Switch Node, and select the node you want to use. - Keep the default connection method recommended, then click the
Connectbutton in the center. - If you want all apps to use the VPN, switch to global mode in the app settings.
- On first connection, macOS may ask you to add a VPN configuration or install a system extension. Click Allow when prompted.
- Sign in with an active BigBear membership account before connecting.
After the connection succeeds, the app will show a connected status. If your current network IP has changed, the VPN is connected successfully.
Stop VPN
To stop using the VPN, click disconnect or stop on the BigBearVPN Direct home screen.